Self-custody service Ledger’s recent “Ledger Recover” update faced public backlash last week. As users continued to speculate on various security concerns, competitor Trezor saw sales of their Model T spike 900%, according to CEO Matej Zak.
However, some may find it difficult to set up their Trezor Model T, especially if it is their first hardware wallet.
Here, we’ll break down how to set up your Trezor Model T securely and how to use it’s basic functions, as well as address some recent rumors regarding it’s safety.
Also Read: Hot Vs. Cold Wallets: Key Differences, And Why It’s Important To Own A Cold Wallet
Setting Up The Trezor Model T
First, make sure that your new hardware wallet is from an authorized dealer. Second hand models may run the risk of being compromised, with a third party being able to siphon your funds without your knowledge.
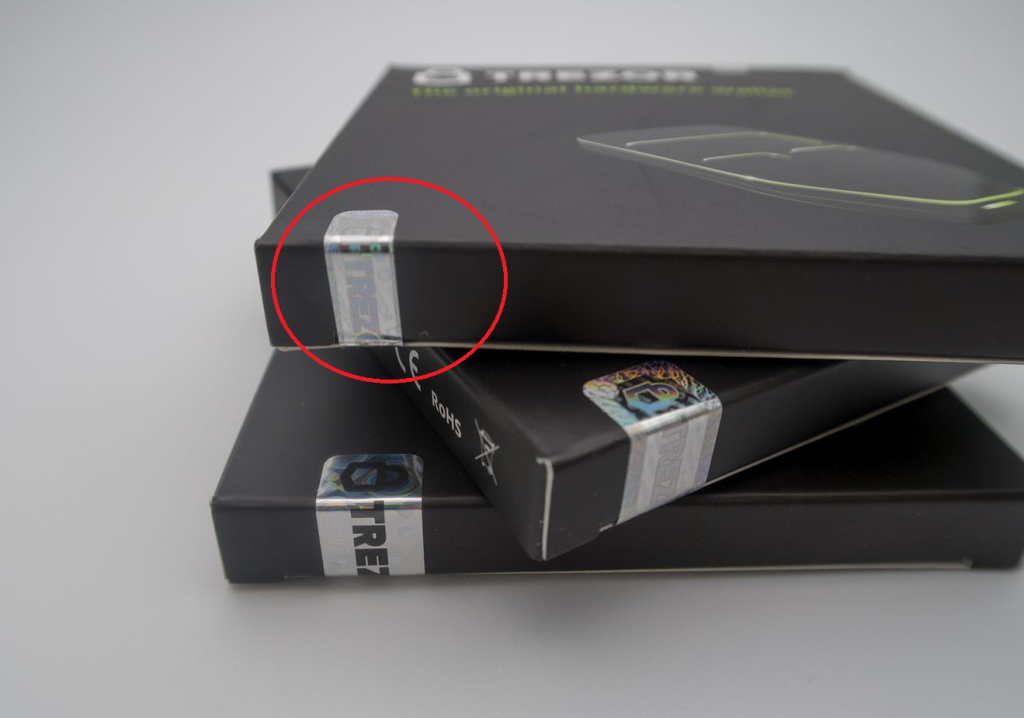
At the minimum, buyers should purchase a quick eye test on the tamper-proof seal that comes on the Trezor packaging. Should it not be intact, contact their support staff, and do not use the Trezor.
Once you have a tamper-free box, check that it contains:
- Trezor hardware wallet (Model T)
- Magnetic docking pad
- Recovery seed cards
- Instruction booklet
- USB-a to USB-C cable
Then, follow the next few steps:
1: Connect, Start, Install
First, connect the Trezor to your laptop or mobile device via the USB to Micro USB cable.
Once done, the Trezor will display a “lock” icon, and instruct you to navigate to the Trezor start page.
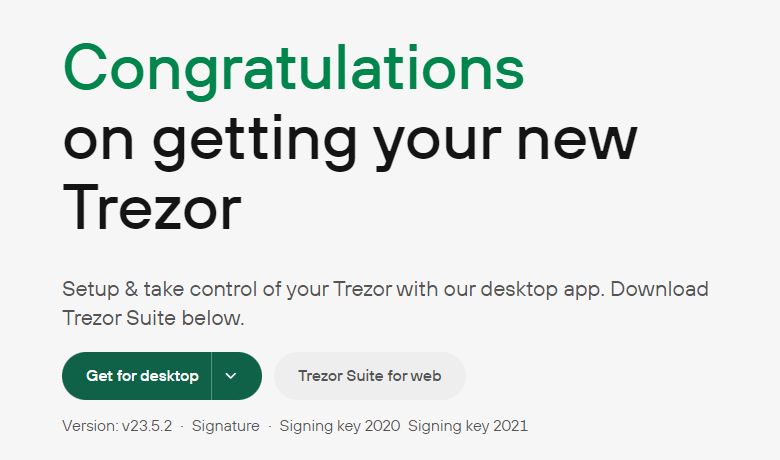
After reaching the site, selecting the Trezor Suite download option that best fits your device.
2. Setting up and Navigating Trezor Suite (application)
Following a successful download, you should be greeted with the following screen on your computer or mobile device:

Click on “Setup Trezor”, then on “Install firmware” to complete the initial phase.
Next, if you want to restore a backup, click “recover wallet”. Otherwise, click on “Create new wallet”.
The next page will give you the option between a “standard seed backup” and a “Shamir share backup”. The differences are discussed on a Trezor blog post which can be found HERE.
For normal hardware wallet usage, select the “standard seed backup”.
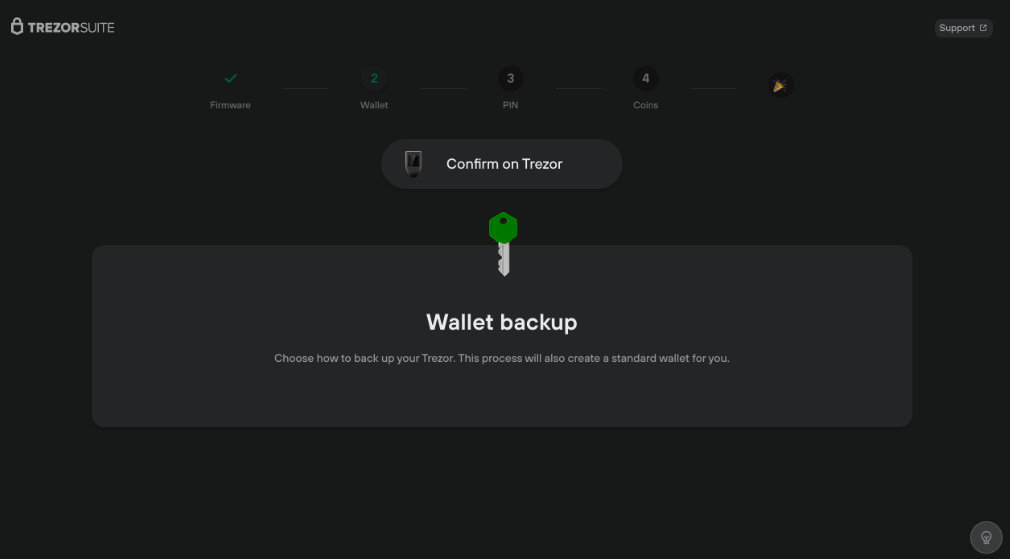
Following this, you will be prompted to confirm your choice on your physical Trezor device.
When prompted “Do you really want to create a new wallet?”, press the green checkmark to confirm.
Next, select “Create backup”. This step will involve writing down or recording your given recovery phrase. Once you have your recovery seed cards handy, confirm the selection twice more and begin the process.
After recording your seed phrase (in the correct order!), confirm that you have done so via the “hold to confirm” option. Following this, select your seed phrase in order to verify that you have successfully noted down your seed phrase.
Following this you can set up a PIN to prevent unauthorized access and easy usage by selecting “Set PIN”.
Enter your PIN again via the touchscreen to confirm your PIN. Your Trezor Suite should then show a “PIN set” screen.
3. Completing Your setup and Using the Trezor Model T
Once done setting a Pin, Trezor will automatically direct you to the “Activate Coins” page. Select which cryptocurrencies are to be shown in your device. This option can be edited at any time in the settings under “advanced settings”.
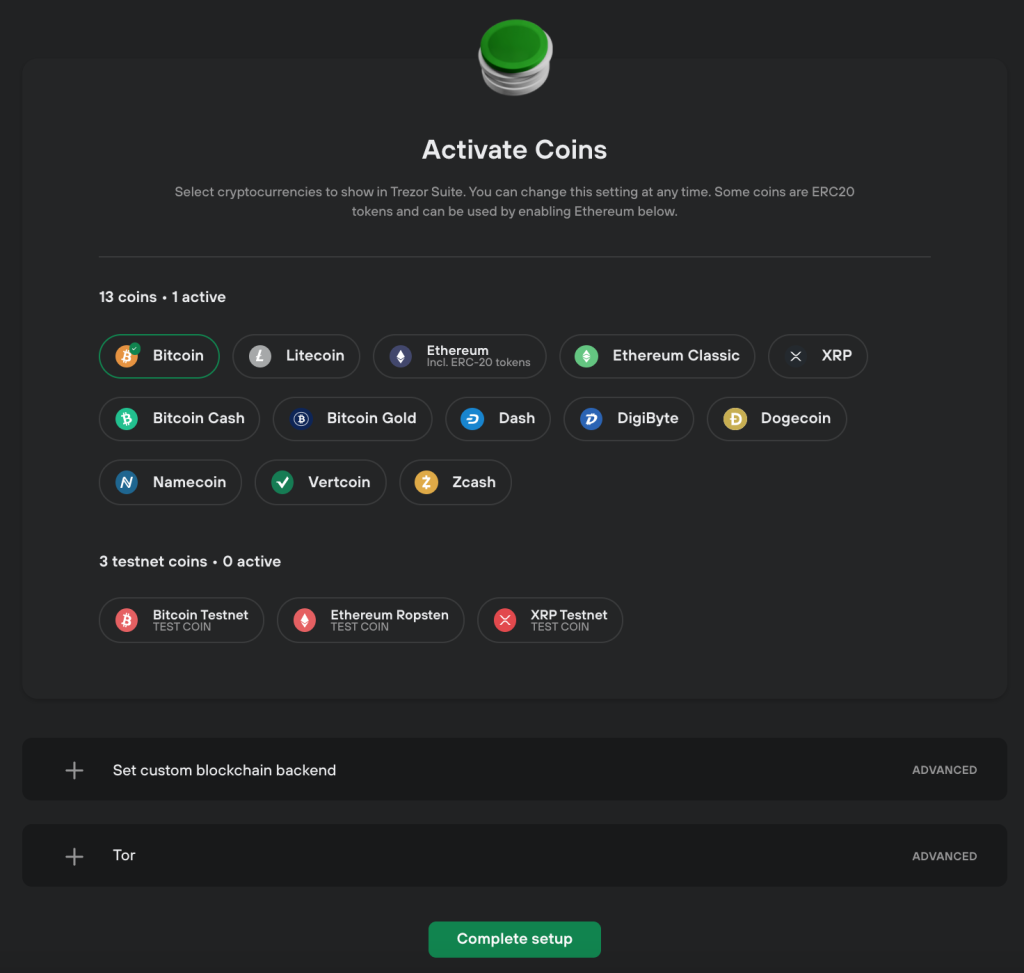
Then, click “Complete Setup”, and you’re ready to use your Trezor Model T!
Receiving cryptocurrency into your hardware wallet requires similar steps as sending it to any other wallet.
Here’s how to receive cryptocurrencies INTO your hardware wallet:
- Navigate to the token you want to receive in your Trezor Model T
- Under the “Overview” tab, select “receive”
- Select “Show full address” and confirm your choice on your physical Trezor Model T
- Copy the shown address
- Navigate to the sending wallet and send the cryptocurrency to the copied wallet address
Here’s how to send cryptocurrencies FROM your hardware wallet:
- Navigate to the token you want to send from your Trezor Model T
- Under the “Overview” tab, select “send”
- Paste in the receiving address
- adjust settings to your preference, including fees
- Select “Review and Send”, and authorize on your Trezor Model T
Trezor Wallets Were Recently Cracked. Are They Still Safe?
A recent post by cryptocurrency recovery solutions firm Uncipherable showed that they were able to crack into Trezor wallets, noting that this was “unfixable at the chip level”.
However, this is only possible with the physical Trezor device on hand. Therefore, your Trezor Model T should not be susceptible to additional points of failure as long as you keep it in a safe and secure place.
Also Read: Top 5 Alternatives To The Ledger Hardware Wallet
[Editor’s Note: This article does not represent financial advice. Please do your own research before investing.]
Featured Image Credit: Chain Debrief